Monday, January 31, 2011
Tech Updates: Microsoft Security updates
Wednesday, January 26, 2011
SOLID STATE DRIVE
HOW TO GET UPDATES FOR ALL MICROSOFT PROGRAMS AND DRIVERS ALONG WITH WINDOWS UPDATES
HOW TO REDUCE SYSTEM RESTORE SPACE TO GAIN MORE FREE SPACE ON DISK
Saturday, January 22, 2011
INTERNET EXPLORER AS A TAB IN FIREFOX
Have you ever wondered if there is a way to open Internet Explorer within Firefox?
There is an Add-On available in the Firefox website that will help you open Internet Explorer within Mozilla Firefox as a tab. You can find the Add-On in the Mozilla website with the name IE Tab here
Just download and install this Add-On from the Mozilla Firefox Add-On website and whenever you right click on some icon you will get an option “View this Link in IE Tab”
When you click on it, that particular page will open with Internet Explorer as a tab inside Firefox browser
Friday, January 21, 2011
RIP DVDs WITH VLC MEDIA PLAYER
Thursday, January 20, 2011
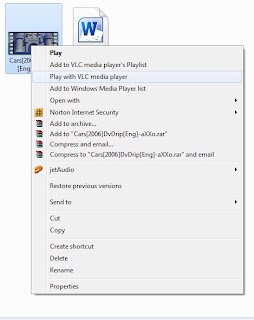
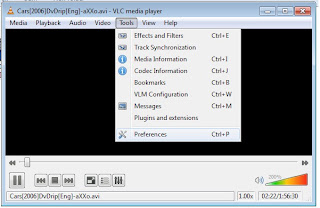
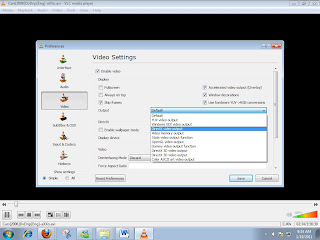
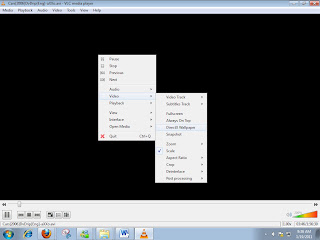
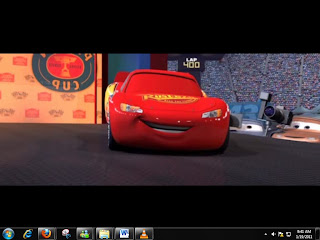
Setup A Video Wallpaper Using VLC Media Player
Wednesday, January 19, 2011
HOW TO CONFIGURE WINDOWS MEDIA CENTER TO OPEN A LIBRARY WHEN LAUNCHED
"Labels" in Gmail
Tuesday, January 18, 2011
HOW TO DISABLE AERO PEEK FEATURE IN WINDOWS 7
Aero Peek feature is a feature of Windows 7 that helps the computer user to have a quick peek on the applications and gadgets on the desktop or have a peek at the applications in the taskbar.
This article is meant only for Windows 7 and is not applicable to Windows XP.
For instance, if you are working on some application while a download is happening on the other window, you can just move the mouse pointer on that application for a second and you will see the download status. While you are done, just slide the mouse away and you will get back to the window you were working on.
To disable Aero Peek:
1. Right click on “Computer”
2. Go to “Properties”
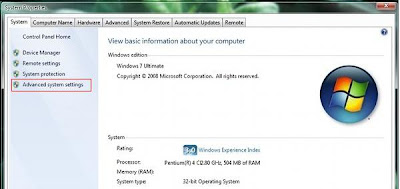
3. On the Left Pane click on “Advanced System Settings”
4. Click on “Settings” under “Performance”
5. In the Window that appears look for “Enable Aero Peek” and uncheck the Check Box. And then click on “Apply” and then “OK”
The feature can be enabled again by making a check mark again.


